How to Condition Leather
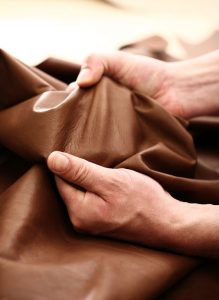
If you want your custom-made leather products to survive longer than a few years, conditioning your leather is almost a requirement. Like our own skin, leather is able to withstand cuts and scrapes. However, it is still fragile and needs protection and care. Unlike our skin, leather only receives nourishment from the care we provide it. Leather can easily dry out, over-absorb water or become damaged in other ways.
A good leather conditioner is easily and readily absorbed, and it will nourish and/or restore flexibility in the leather’s fibers. If leather is not conditioned regularly, it loses its natural oils and moisture. When that occurs, leather loses its flexibility and will begin to crack and, eventually, break down. Leather conditioning prevents this breakdown and can preserve your leather for a century or more. Some leather products have been preserved for over 5,000 years! Before your leather loses its original integrity, you must condition your leather to replace the oils and moisture that have been lost.
When to Condition Leather
You must condition leather regularly. Many factors go into how often you should be conditioning leather:
- If your leather is on a shoe, wallet, handbag or other items that is regularly exposed to the elements and moisture, you will need to clean, condition and waterproof your leather every 3 to 6 months in order to prevent mold and/or mildew.
- If you live in a dry environment, you will want to condition your leather every 6 months to add oils and moisture back into the leather.
- If your leather stays inside and is not exposed to the elements, you can safely condition your leather every 6 to 12 months.
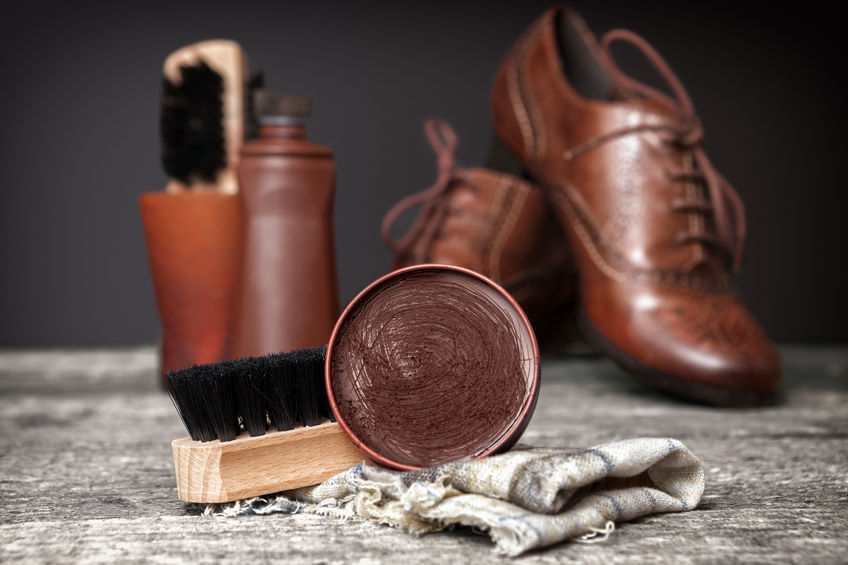
What Products to Use to Condition Leather
Natural products are best to use on leather, as they do not contain drying ingredients. In order to properly clean, condition, and shine your leather, you will need a combination of the following products:
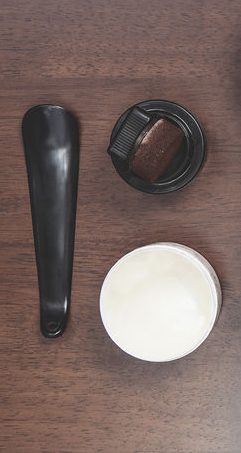
- Saddle Soap: Saddle soap is used to remove dirt, sand and other materials from the leather.
- Conditioning Oil: Neatsfoot, mink and olive oils have been used for centuries to condition and soften leather. These leather conditioning oils are natural and readily available. However, beware of using too much olive oil, as it may create a sticky and dark surface
- Conditioning Cream: Creams will penetrate deep into the fibers to moisturize and nourish leather. Creams may contain other leather conditioning products such as artificial and natural oils. Natural conditioning creams are readily available at most shoe stores.
- Waterproofing Wax: Though wax will not provide superior moisture, it will provide superior protection to water and other liquids. Beeswax and pine resin are best to use on your leather, because it will not soften your leather any further after its conditioning treatment.
All products will alter the appearance of leather to one degree or another. Always test your soap, oil, cream and wax on a hidden spot of the leather first.
Step-by-Step Leather Conditioning
To condition custom-made leather products, complete the following steps:
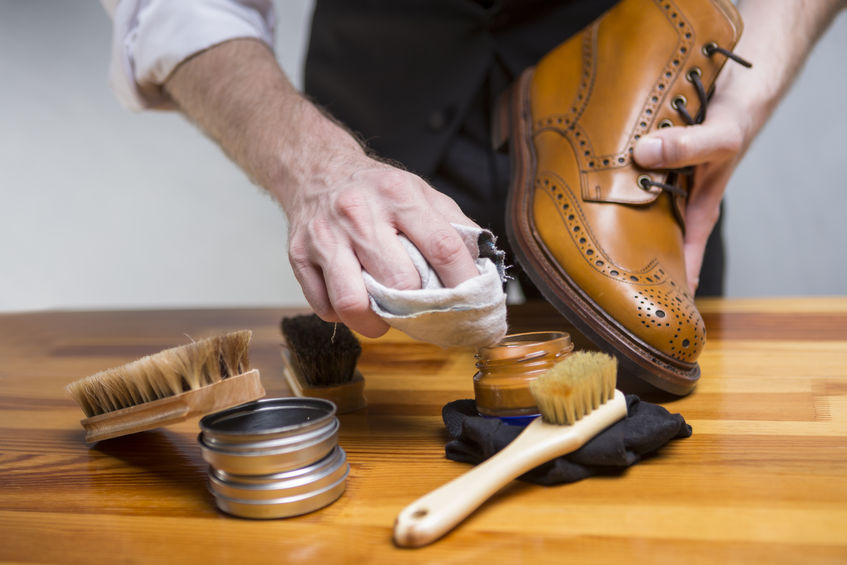
- Place your leather product on a clean, flat surface to prevent scratching and creasing. Use a good saddle soap and damp cloth to remove lotion, grit, oil, dirt, sand and other materials from your leather. Make sure to pay attention to the edges. If this step is skipped, your leather conditioner will not be absorbed evenly. The result will leave you with a blotchy, uneven coloring.
- Pro Tip – Leather cleaners typically have alcohol and other solvents that dry our leather. If possible, avoid cleaners and invest in a good saddle soap.
- Allow your leather to dry completely. Do not use any heat to assist in the drying process. Depending on how much soap you used, how damp the cloth was and the level of humidity in the air, the leather can dry in as little as 30 minutes or take over 24 hours. If the leather is slightly damp, it will not allow the conditioner to be absorbed evenly. Be patient.
- Once the leather is completely dry, it is time to begin conditioning the leather. Use either a cream or oil to condition the leather. Put the conditioner of your choice on a clean cloth. Once on the cloth, work the conditioner into the leather evenly in a circular motion. Do not rub the conditioner in aggressively since the top layer of the leather is incredibly fragile at this stage. The first layer of conditioner will quickly absorb into the leather. Be sure to apply two or three layers to properly condition your leather.
- Pro Tip – Do not apply the conditioner directly to the leather as it will create a large, dark patch.
- Once the final layer of oil is applied, gently rub the oil into the leather with your fingers. The heat from your fingers will help the oil penetrate the deeper into the leather’s fibers. The deeper the oil penetrates, the less often you will need to condition your custom-made leather goods.
- Let the oil sit for 24 hours so that it has time to completely absorb into the leather.
- Once the oil has had time to sit, you can add a waterproofing wax to prevent water damage to your leather goods and give your leather a nice shine. Start with a small amount of wax first. If you apply too much, you will need to spend more time buffing the wax into the leather. You can always add more if you need it. Be sure to cover any stitching, creases or folds as these areas are most vulnerable and need the most protection.
- Pro Tip – Leather wax products sold in stores are typically acrylic base and will eventually peel off in time (and take the first layer or multiple layers of leather with it). Avoid, if possible.
- Once applied, allow the wax to dry for 12 to 24 hours.
- Once the wax has dried, begin buffing the wax with a clean cloth. Use a light and fast motion. You can rest assured you are using the right technique once the color of your leather deepens and a shine appears. The more you buff, the more your custom-leather goods will glow, so spend some extra time on this step.
- If you feel the leather needs more wax for any reason, repeat steps 6 through 8.
Leather Conditioning Summary
You want your custom-made leather products to last as long as possible, so be sure to take care of them with regular maintenance. If any accident occurs, make sure you clean, condition and waterproof your leather right away to prevent any cracking or staining. Twice a week, wipe down your leather with a damp cloth. Make sure to condition your leather at least every 6 months to keep your leather moisturized and nourished. Finally, waterproof your leather at least every 12 months. If you live in a humid or rainy environment, consider waterproofing your leather more often.